Puffy Dumplings

My family made a puffy dumpling. I don’t remember anyone teaching me how to make a dumpling and I have seen family members make a homemade dumpling and I have seen some open a can of biscuits and simply pinch off a bit of the dough and drop it into the pot. Somewhere I learned that no matter how the dumpling was made, when it floats it means that it is done.

I went through a period of time when I used Bisquick to make the dough and then one day I simply used my pie dough with a little more salt added to make my dumplings. I prefer the pie dough dumpling to any that I have made.

Puffy Dumpling

1/2 cup vegetable oil

1/2 cup water

1 1/2 tsp salt

Flour (enough to make a firm dough)

1. Mix the water oil and salt until cloudy then slowly add the flour until a soft dough forms.

2. Pour the soft dough onto a floured surface and continue to knead in additional flour until the dough becomes firm. (a little tougher than play dough)

3. Pinch off dough about half the size of a ping-pong ball. Drop directly into the simmering liquid of your choice.

4. Do not stir. When all of the dough has come to the top of the pot, the dumplings are done.

(I have tried to use different oils and only the vegetable oil will produce the correct effect with this dough. I have used different flours and although the consistency is different they will hold up in the simmer process.)

Big Mom’s Fried Apples

I guess this week has been a little bit of a walk down memory lane. I think the holiday’s do that. My Grandmother, Big Mom, was such a wonderful cook. I think she must have expressed her love for her family by cooking the things that they loved to eat. I especially loved waking up in the mornings to the smell of breakfast cooking. The mixture of bacon, eggs, gravy and the sweetness of her fried apples. I always remember watching her bring the apples from the freezer and putting the frozen apples directly into the iron skillet; so, I do the same thing each time I make them.

I remember that she passed along some additional wisdom about cooking fried apples that you need to know first.

1. only turn the apples once or twice, otherwise you get applesauce.

2. The sugar will burn easily so watch them as you cook them on medium heat.

Fried Apples

1. Peel, core, and quarter approximately 8 to 10 apples. (I use Granny Smith. They hold their shape when they are cooked and they are tart enough to make a nice tart sweet flavor)

2. If you have time, freeze the apples.

3. Big mom used bacon grease to cook her apples. I use a little canola oil. I use just enough to cover the bottom of a skillet.

4. Heat the skillet slightly on medium heat for frozen apples, a lower heat for unfrozen apples. Add the apples to the skillet.

5. Sprinkle approximately 1/2 cup sugar over the apples in the skillet.

6. Cover the skillet with a lid and allow the apples to cook. When they have browned slightly, turn them once.

7. Uncover the apples the last few minutes before completely done to allow the liquid to cook dry but not burn. (Big Mom always dabbed pieces of her homemade butter on the top just before serving.)

Yummy!

Zucchini Cakes

20140107_164920 (1)Many years ago I lived on a farm and had a large garden. I learned so much about gardening during that time. I loved the full flavor of the vegetables that we grew right out our back door.  One year we had a bumper crop of zucchini. I fried, baked and grilled zucchini and I made zucchini bread and jam. To this day, my children talk about how tired they became of zucchini that year. I no longer live on that farm and I no longer have a garden but I do frequent the local farmers market. Well a few years ago, there  must have been another bumper crop.  Zucchini was abundant and cheap at the local farmers market. I couldn’t help myself. I bought more than I needed and so I soon found myself grating zucchini to be stored in the freezer for a later time. As I recently began sorting  the freezer I realized I still had the abundant supply of grated zucchini. I remembered that one of the favored recipes I had used with the grated zucchini had been similar to potato cakes. So, we had zucchini cakes. They actually tasted so much better than I remembered. Perhaps because I didn’t have to eat zucchini on a daily basis. 🙂

I thought I would share the recipe.

Zucchini Cakes

2 cups grated zucchini

1 egg or (1 tablespoon flax meal with 1/2 teaspoon water)

1 small green pepper, finely chopped

1 medium onion, finely chopped

Flour , enough to make a wet dough.

1. Put zucchini, egg/flax meal, green pepper, and onion in a bowl. mix well using a spoon.

2. Add flour as you continue to mix until the mixture becomes a wet dough that can be formed into a patty.

3. Use a cooking spray, I use canola oil spray, your pan and on medium heat cook the patty until golden brown on both sides and cooked in the middle.

Enjoy

Turkey Pot Pie

Turkey PieThe polar vortex has allowed me to have an additional week of Christmas break.  I have tried to use each of these cold snowy days to catch up cleaning and some additional small projects around the house. Today, I decided to attack the freezer and use some of the left over food from the holidays. I started with the left over turkey and vegetables and decided that I would combine the ingredients and make some turkey pot pies. Although I don’t eat meat, I knew that my family would enjoy some ready made meals and the left over food would not go to waste. While I was in the process of doing this, I realized that once again my beloved grandmother, Big Mom, would be with me. When I was young I looked forward to my summer stays when Big Mom  would teach me to sew, garden, can and cook. Big Mom was known as a very good cook in her community and had, for a time, owned and operated a restaurant that featured her home cooked meals. I loved listening to her soft southern drawl and watching her slow purposeful ways.  Now, on occasions such as this, her voice seems to echo somewhere in me always guiding and encouraging as I try to mimic what I heard and saw from long ago.

Big Mom did not teach me to make a pot pie, but she did teach me to make the thickening in the meat and vegetables and dough. I put them together to make this pie recipe.

You will need

Turkey (you can use left overs and/or the carcass )

Frozen Vegetables of your choice or left overs. (Big Mom’s wisdom was that carrots and celery will steal the flavor if you use too much. So, be careful with these. You may also want to stay away from high starch vegetables for this dish.) On this day I used peas, green beans, corn, and some carrots.

1 medium onion chopped

2 to 4 Tablespoons of butter

3 to 6 Tablespoons of flour

Salt and pepper

1. Put the left over turkey or carcass in a large pot and just cover the meat with water. Allow it to boil/ simmer for 2 hours.

2. Remove the meat and bones from the stock.

3. Go through the removed meat to take out fat, bones, skin, or any other parts that you do not want in your pies.

4. Pour the stock into a container.

5. Put all the vegetables and the onion into the large pot. Add just enough stock back to the pot to allow enough liquid for the vegetables to cook. (The liquid should not be above the vegetables. As they cook, they will render additional liquid.) Allow this to cook until all the vegetables are tender.

6. Add the cleaned meat to the vegetable pot and bring to a simmer.

7. At this time you will determine if there should be additional stock added or if you should remove additional liquid from the pot. The liquid should be just below the meat and vegetable mixture.

8. In a microwave safe container, melt approximately 2 to 4 tablespoons of butter.

9. Add approximately 3 to 6 tablespoons of flour to the butter and mix. This should be the consistency of paste.

10. Add the butter and flour mixture to the pot. Mix thoroughly. This should make a gravy. If your gravy is too thin, add additional butter flour mixture. If it is too thick, add additional stock.

11. Add salt and pepper to taste.

** If you plan to freeze your pie or pies, you will need to cool the above mixture before assembly with the dough.

*** The leftover turkey stock can be poured into ice cube trays and frozen. Remove the cubes and store in a plastic bag in the freezer for later use.

Dough

For one 9X9 pot pie:

1/2 cup vegetable oil

1/2 cup water

1/2 teaspoon salt

All purpose flour (enough to make a dough)

1. Mix the oil, water, and salt until it becomes cloudy. Gradually add the flour until it becomes a wet dough.

2. Pour the wet dough onto a floured surface. Knead the dough about 25 times. This should be a soft firm dough. (I think of a firm dough as the consistency of play dough. So a soft firm would be a little softer than play dough. )

3. Divide the dough into two parts.

4. Roll out the first part of the dough to line the bottom and sides of your pan.

5. Fill the pan will the mixture. (Careful that the mixture is just below the rim of the pan.

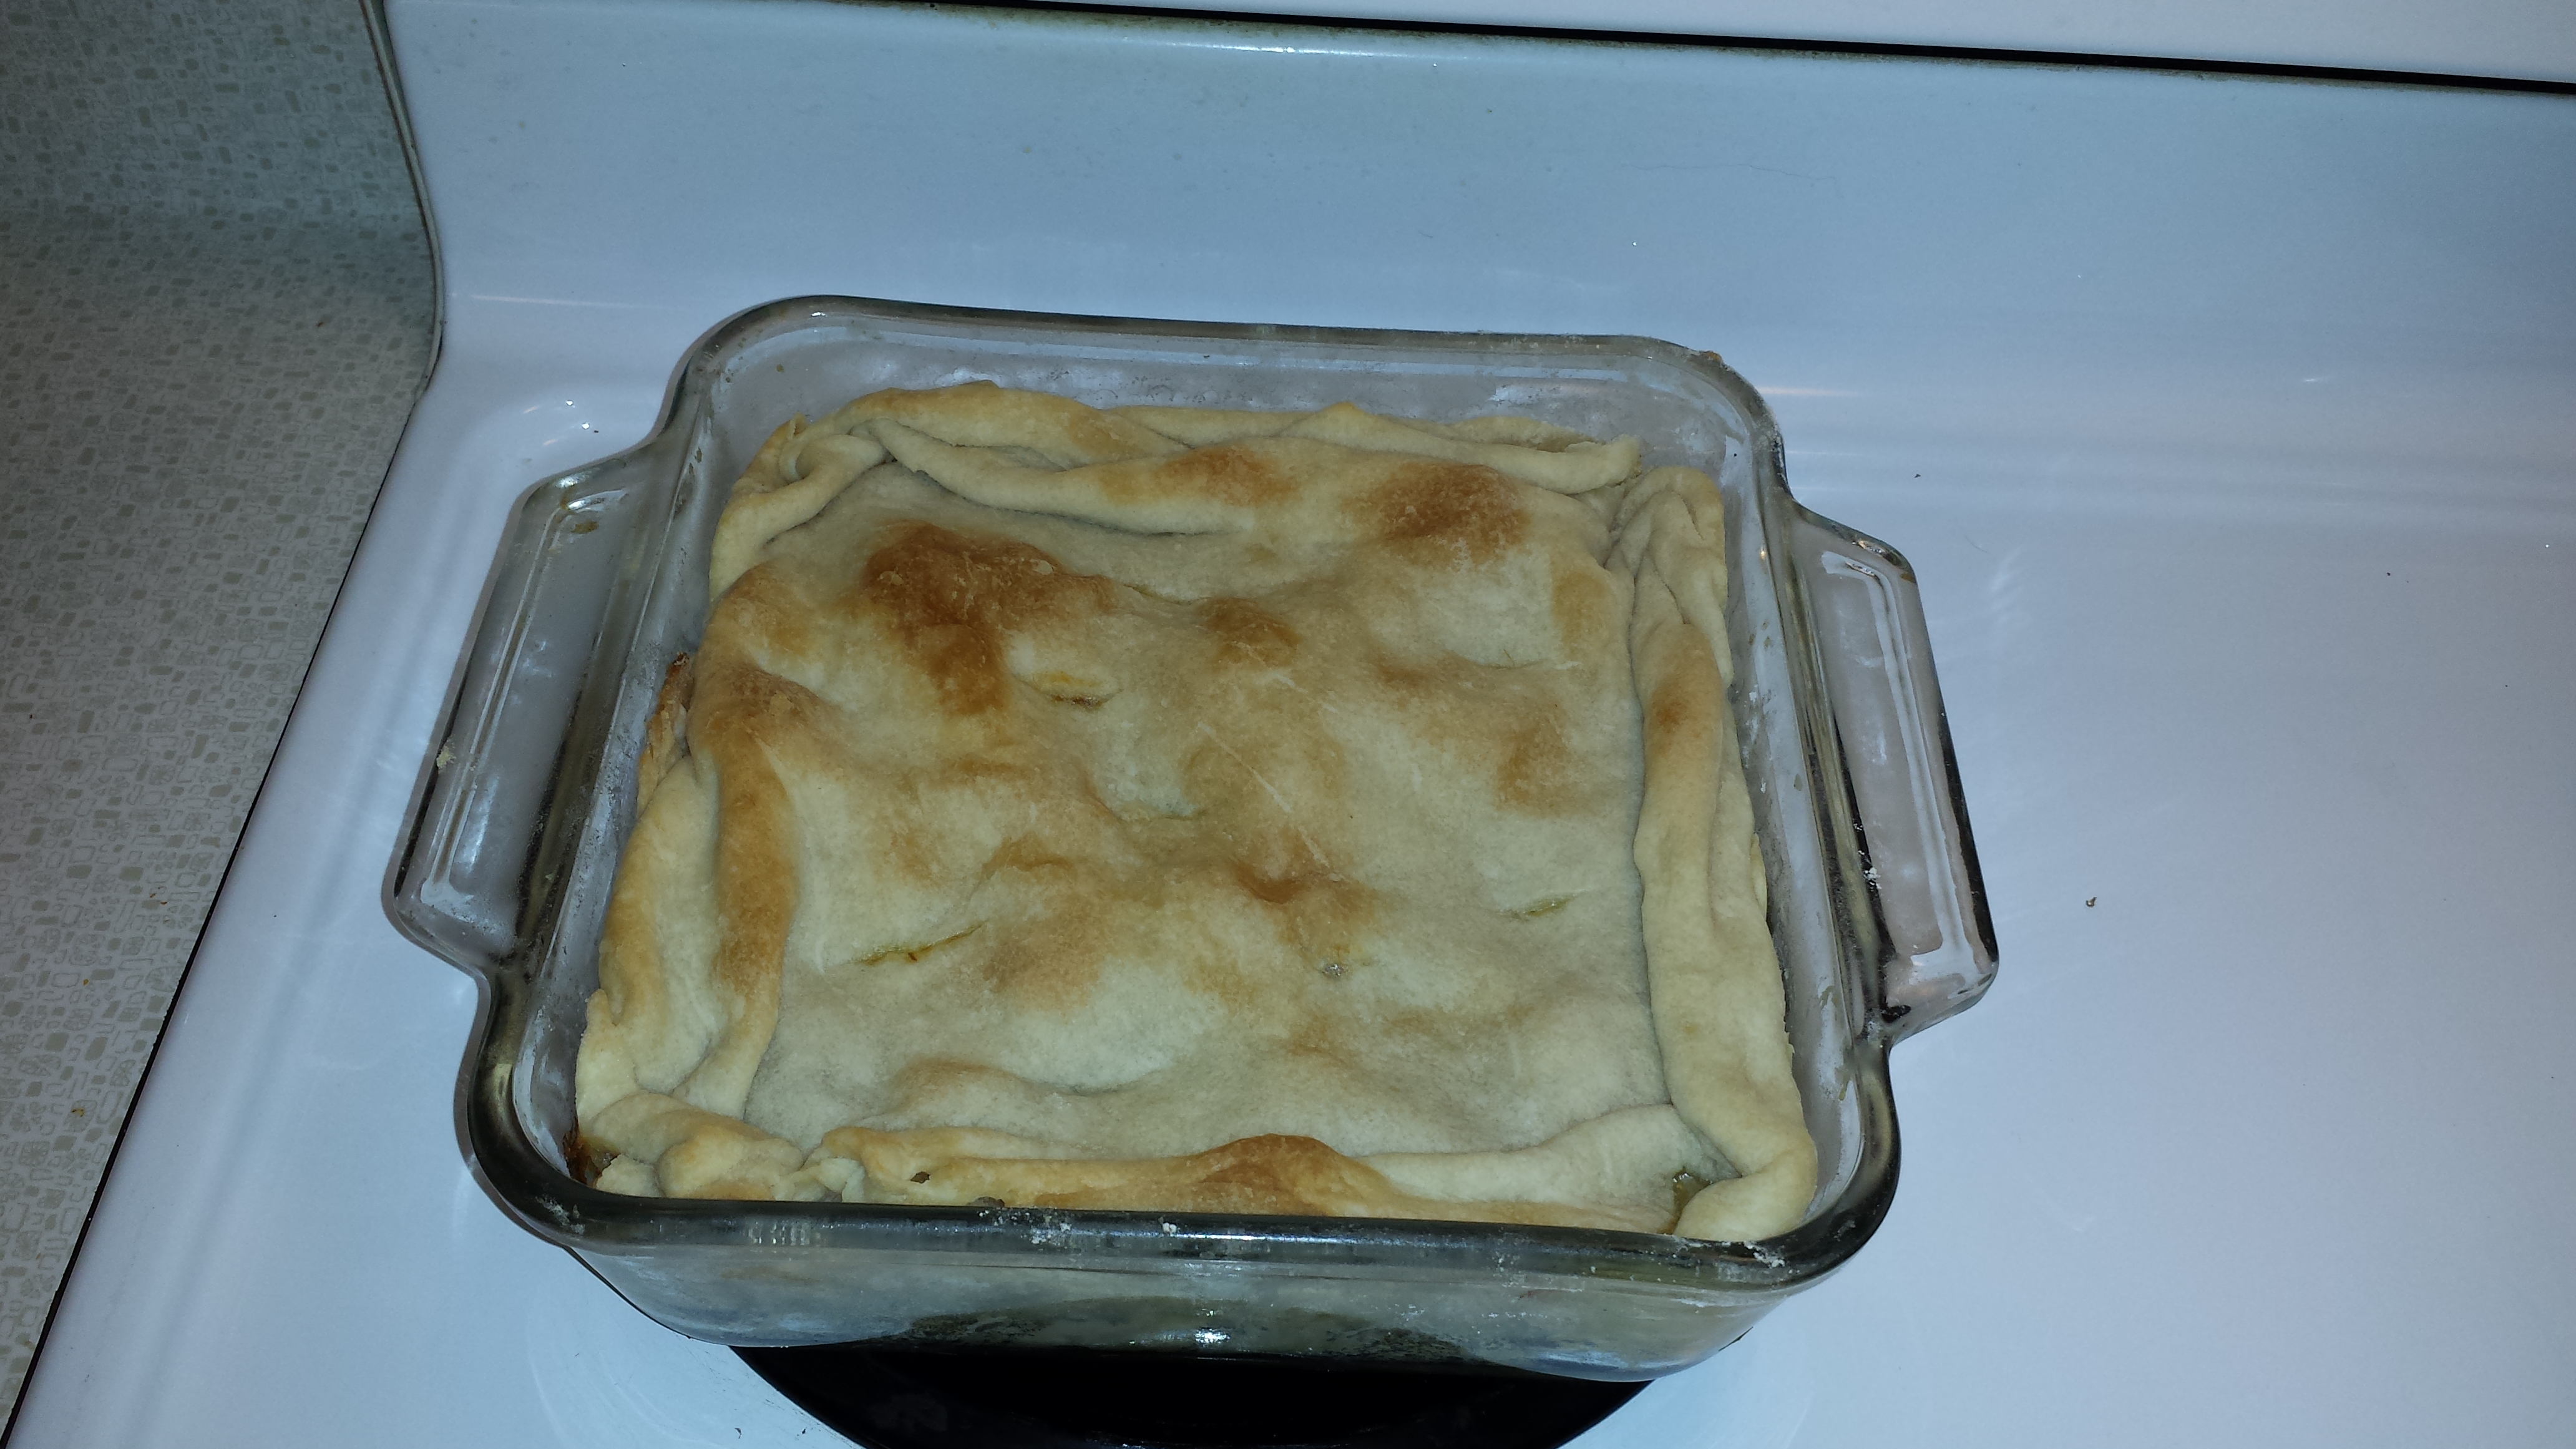
6. Roll out the second half of the dough to cover the top of the pie. Pinch the edges. Prick the top using a fork in several places to allow the steam to escape during the cooking process.

7. Either wrap the pie and freeze for later or cook the pie at 425 degrees until the dough is browned and the inside is bubbly.

Enjoy.

Meatloaf

meatloafWhen I was a little girl, going to Big Mom and Big Dads house meant a 6 hour drive. However, I knew that when I got there Big Mom would have cooked my favorite meal, Meatloaf and Banana Pudding. Obviously,  I was able to eat meat in those days. When I was older, I asked Big Mom to teach me to make meatloaf. I remember her making the mixture and telling me what she was doing as I frantically wrote every word she said on a piece of notebook paper. I can even remember sitting at the red snack bar. Since that day, I have made meatloaf for family and friends on many occassions. I am always asked for this recipe so here it is.

1 or 2 pounds of lean hamburger (I get my meat from a local source that allows the animals free range and practices humane killing)

1 medium onion. chopped

1 green pepper, chopped

1 to 1 1/2 sleeves saltine crackers

2 cans of tomatoes

1 egg

salt and pepper

Ketchup

1. Mix hamburger, egg, onion, green pepper, 1 can of tomatoes, and 1 sleeve of saltine crackers. Continue to thoroughly mix. (Big Mom’s wisdom here is that the more you mix, the better the meat loaf will taste and hold together.)

2. If the meatloaf is too wet, you can add some additional crackers. (If you use crackers that are salted you may only need about 1/2 teaspoon of salt. A little more if the crackers are not salted. Approximately 1/4 teaspoon of pepper. More if you like pepper.

3. When the meatloaf is ready, form it into a loaf shape on a pan. (You can surround the loaf with potatoes and carrots to bake as well)

4. Pour a can of tomatoes on the top of the loaf.

5. Bake at 350 for approximately an hour. This will depend on your oven so after about 45 minutes you may need to cover with aluminum foil.

6. You can remove from the oven and top with ketchup and then place it back to bake an additional few minutes.

Enjoy.

Onion Soup

Our household, like many, has recently battled the flu. When I was growing up, my Aunt Louise would bring me Campbell’s Chicken Noodle soup or my dad would onion soup. So, to help rid my household of the flu this year, I  modified Dad’s Onion Soup recipe to make a fat free version. Much to my surprise, it was actually tasty.

Modified Onion Soup 

3 medium sliced onionsphoto (4)

4 to 5  cups vegetable stock

chopped green onions or dinosaur Kale for garnish

Pour 1/4 cup vegetable stock into a medium pot. Add onions and on medium heat cook until caramelized adding additional vegetable stock as needed. When the onions have become a deep caramel brown add the remainder of the vegetable stock. Simmer for 30 minutes. Sprinkle green onions and/ or dinosaur kale on top. I didn’t add any additional seasoning, but could add some salt.